Post Schemas
In addition to global schemas set in the settings page, you can also create custom schemas for individual posts and pages.
Adding a schema to a post or page
To add a schema, open the post or page editor and look for the Schema tab inside the Search Engine Optimization meta box below the editor.
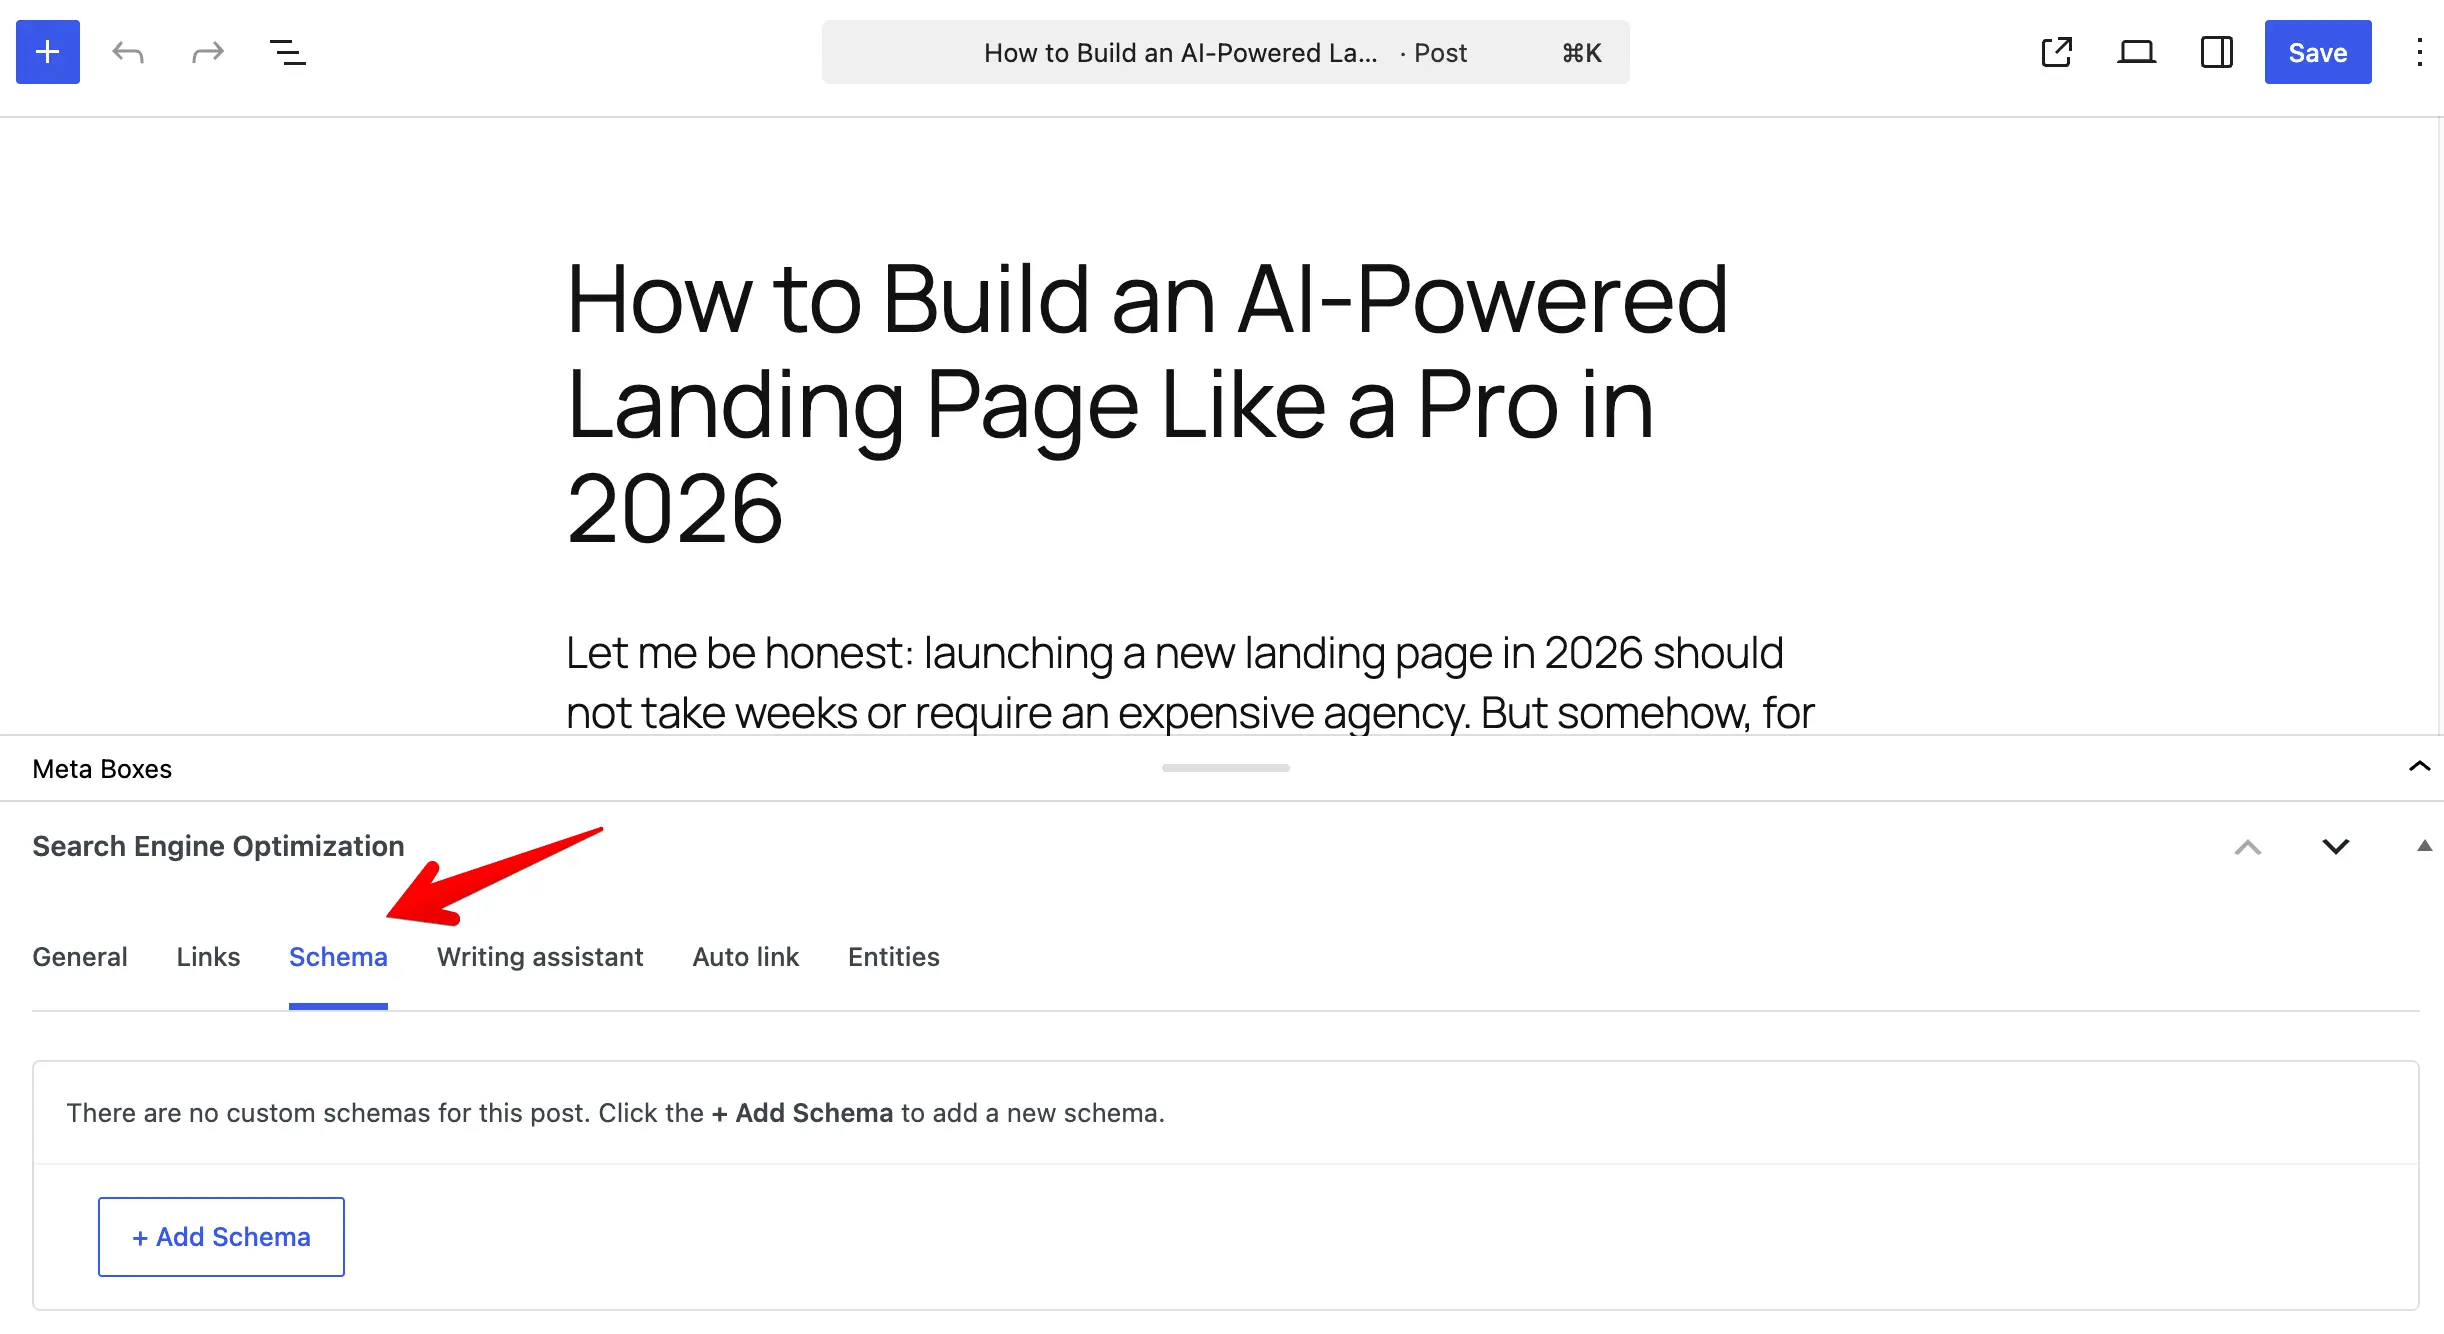
Click + Add schema, then choose a schema type from the list. After that, fill in the required properties - just like when creating a global schema.
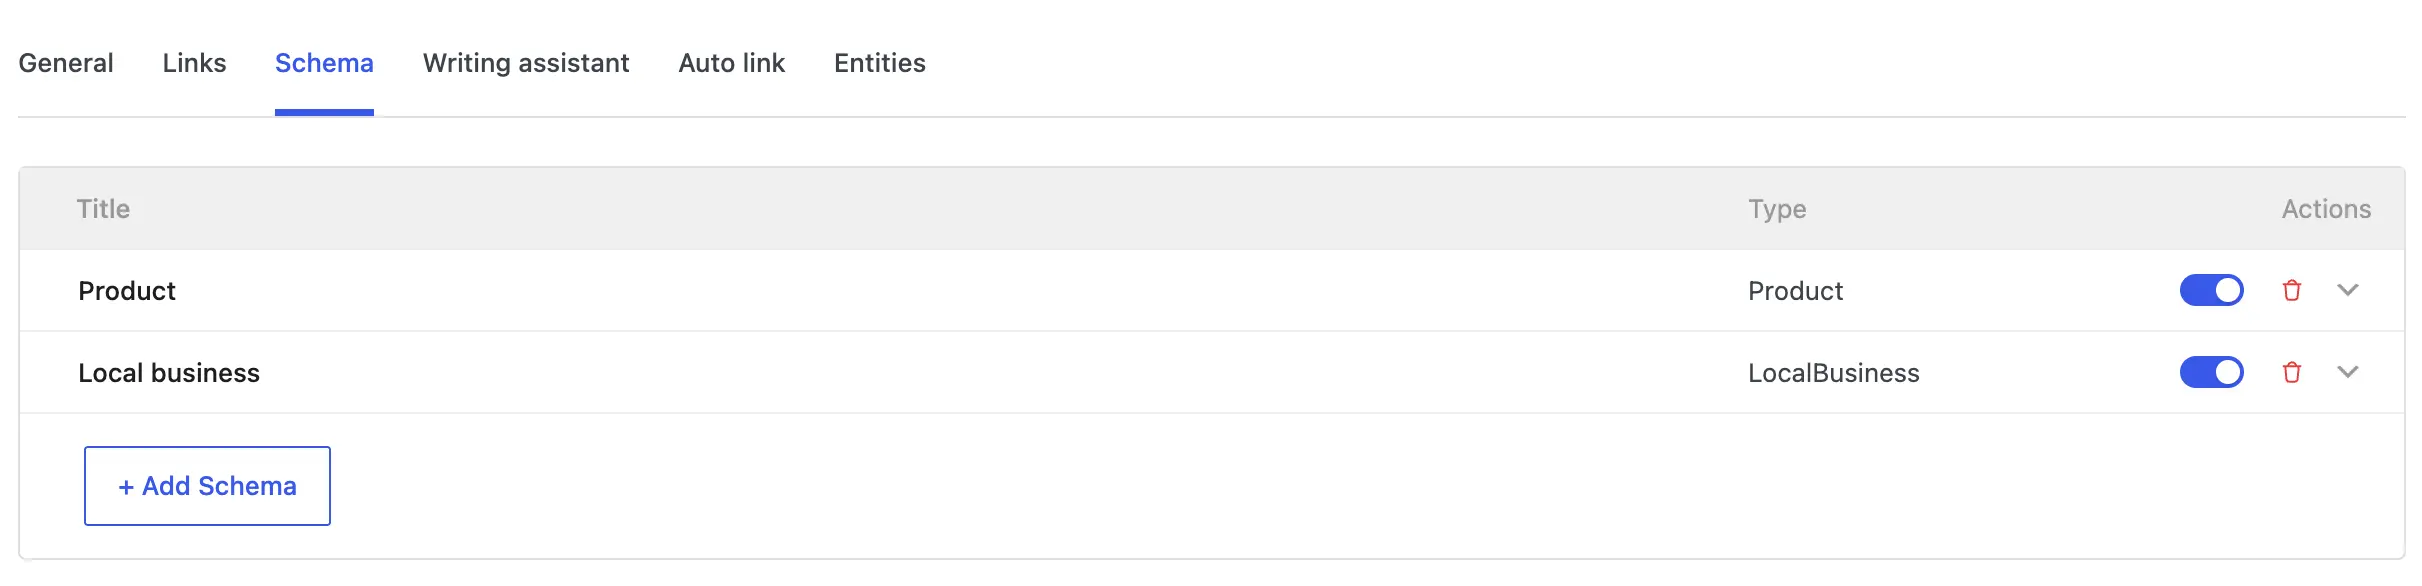
All available properties are the same as in the global schema settings, including support for dynamic variables.
When you're done, click Save or Update to apply the changes.
How post schemas work
Schemas added directly to a post or page take priority over global schemas. If a post has its own schema, global schemas will not be applied.
Schemas set at the post level always override global schemas.
Restrict schema settings to admins only
If you want only administrators to manage schema settings, you can hide the meta box for other user roles using this snippet:
// Hide SEO settings meta box for posts.
add_filter( 'slim_seo_meta_box_post_types', function ( $post_types ) {
	return current_user_can( 'manage_options' ) ? $post_types : [];
} );

// Hide SEO settings meta box for terms.
add_filter( 'slim_seo_meta_box_taxonomies', function ( $taxonomies ) {
	return current_user_can( 'manage_options' ) ? $taxonomies : [];
} );
Slim SEO Pro uses the same filters as Slim SEO to control the visibility of the meta box. This means the snippet above will hide both schema settings and SEO settings.